

Introduction: The Art of Troubleshooting
I’ll never forget the night when I spent hours at a plant, knee-deep in an automation crisis. It was 2 AM, and every alarm bell seemed to be going off. The production line was down, and the air was thick with the scent of anxiety. I had to figure out why the Siemens S7-1500 PLC wasn’t communicating with the SCADA system. After hours of tracing wires and checking configurations, I finally spotted a loose RJ45 connector. It was a classic case of an electrical issue causing a cascade of problems. That night taught me the value of a systematic approach to troubleshooting.
In industrial automation, a systematic approach is your best friend. When you’re in the trenches, methodically working through potential issues can save time and frustration. We’ll go through common faults, the essential tools you need, and a step-by-step process to tackle these problems. Trust me, it’ll make your life a whole lot easier on the plant floor.
Understanding Common Automation Faults
Electrical Issues
Electrical issues are among the most frequent culprits in industrial automation mishaps. A common problem I see time and again is loose connections. I once had a case where a production line kept shutting down intermittently. After hours of troubleshooting, I found that a terminal block had a loose wire. The fix was simple, but identifying it was like finding a needle in a haystack. Moreover, you’ll often encounter issues with grounding and shielding, especially in noisy environments. The thing is, electrical noise can wreak havoc on your signals, causing erratic behavior in your systems.
Now, let me share another story. I was at a manufacturing plant where the machines were periodically shutting down without any apparent reason. It turned out that the main power supply was causing voltage dips. We replaced it with a higher capacity unit, and the problem vanished. The lesson? Never overlook the power supply’s capacity, especially as your production demands grow.
Software Glitches
Now, here’s where it gets interesting. Software glitches can be maddeningly elusive. Firmware bugs, for instance, can cause unexpected behavior that takes time to isolate. I remember dealing with a bug in a CompactLogix system where the firmware version had a known issue with a specific I/O module. The solution was a simple firmware update, but it required knowing the problem existed in the first place. Additionally, software updates can sometimes introduce new problems. Therefore, always ensure you test in a controlled environment before deploying to production.
In my experience, a thorough understanding of software and firmware versions is crucial. I once had a situation where a PLC program was behaving erratically. It was a simple programming error—a typo in a ladder logic instruction. It was a reminder that sometimes the problem lies in the details. Double-check your code, especially when making quick edits.
Mechanical Failures
Mechanical wear and tear is another big one. Over time, components like conveyor belts, gears, and bearings degrade. I personally prefer a proactive maintenance approach, where you regularly check and replace worn parts before they fail. Funny enough, a worn-out gear once brought a whole assembly line to a halt. The real trick is to train your team to recognize the signs of wear before they become full-blown failures.
Furthermore, consider the environmental factors. A plant I worked with had their conveyors exposed to dust and debris, causing premature wear. Implementing dust covers and regular cleaning schedules greatly extended the lifespan of their equipment. It’s those small preventive measures that often make the biggest difference.
Tools Every Troubleshooter Needs
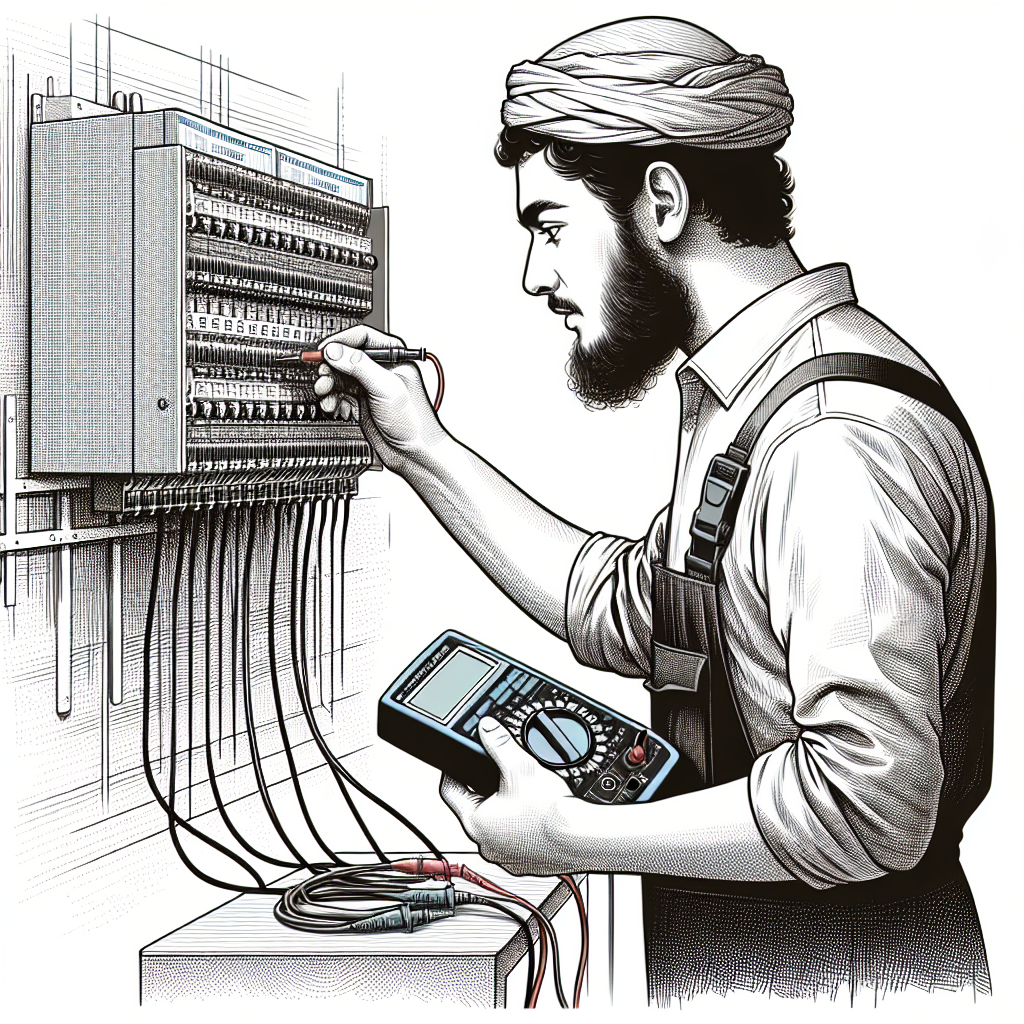
Multimeters
A multimeter is your go-to tool for diagnosing electrical issues. Whether it’s checking for voltage drops across a circuit or measuring resistance, you can’t go wrong with a trusty Fluke 117. I’ve used it countless times to verify power supply issues. For instance, if a sensor isn’t working, you’ll want to measure the voltage at the terminals. If it’s lower than expected, you could be dealing with a voltage drop due to a bad connection or a failing power supply.
Moreover, don’t forget to use the multimeter to check continuity. Once, a simple test helped me find a broken wire hidden inside insulation. A few flicks of the multimeter’s switch saved me hours of potential headache.
Oscilloscopes
Oscilloscopes are invaluable for visualizing electrical signals. They help you see the waveform, making it easier to identify anomalies. For example, if you’re dealing with high-frequency noise issues on a Profinet network, an oscilloscope can help you pinpoint the frequency and amplitude of the interference. Honestly, I think every troubleshooting kit should have a Rigol DS1054Z or something similar.
Furthermore, oscilloscopes can reveal what your eyes can’t see. At one factory, we traced erratic machine behavior to a sinusoidal distortion in the power supply waveform. It was a classic case where seeing is believing, and only the oscilloscope could deliver that insight.
Diagnostic Software
Diagnostic software is another crucial tool. Siemens TIA Portal or Rockwell’s Studio 5000 Logix Designer have built-in diagnostics that can save you a ton of time. These tools allow you to monitor real-time data and even simulate changes before implementing them. In my experience, software like this can quickly identify misconfigured parameters or failing I/O modules, which might otherwise go unnoticed.
Furthermore, leveraging diagnostic software for trend analysis can highlight underlying issues before they become serious. It’s like having a crystal ball that predicts what might go wrong.
Step-by-Step Troubleshooting Process
Identify the Problem
Start by clearly defining what’s going wrong. Is the motor not turning on? Is there a communication failure between systems? A clear problem statement helps focus your efforts. For instance, “The conveyor motor doesn’t start when triggered” is much clearer than “The system isn’t working.”
Furthermore, documenting symptoms as they occur can be invaluable. Ever faced a recurring issue that mysteriously vanished before your eyes? A well-maintained log can provide clues for future challenges.
Analyze the Symptoms
Once you’ve identified the problem, analyze the symptoms. Look for patterns or conditions when the fault occurs. Does it only happen during peak load times? Is there a specific sequence that triggers the issue? This analysis can help narrow down the potential causes. For example, if a VFD trips only during startup, it might be a sign of an inrush current issue.
Additionally, involve your team in this stage. I recall a case where one operator’s observation of a faint unusual noise provided the missing link in our troubleshooting chain. Sometimes a fresh perspective can illuminate the path forward.
Isolate the Cause
Now that you have a list of potential causes, it’s time to isolate the root cause. Use tools like multimeters and diagnostic software to test each hypothesis. For instance, if you’re suspecting a faulty sensor, swap it with a known good one and see if the problem persists. In my experience, isolation is often the trickiest part, but it’s also where your technical skills come into play.
Additionally, visual inspection is an underrated tool. I once found a faulty relay due to visible burn marks on its casing. Never underestimate the power of a keen eye.
Pro Tip: From my experience, always start with the simplest explanation and rule out the obvious before diving into complex theories.
Stay tuned for the next part where we’ll cover advanced troubleshooting techniques, real-world examples, and tips for continuous improvement in industrial automation. For more insights, check out our Industrial Automation section or explore resources from Siemens for deeper technical guidance.
Advanced Troubleshooting Techniques
Signal Tracing
Signal tracing becomes invaluable when you’re dealing with complex systems in industrial automation. Here’s the thing, sometimes faults aren’t obvious—they hide in the intricate web of signals coursing through your system. I remember chasing a phantom fault in a multi-tiered production line. The culprit? A misrouted signal that nobody suspected. You need to systematically trace signals using oscilloscopes or signal testers, starting from your suspected area and working back to the source. It’s like detective work, and trust me, you’ll feel like Sherlock Holmes when you find it.
Moreover, technology like network analyzers can expedite the process of signal tracing. These tools offer graphical representations of signal paths, making it easier to spot anomalies.
Network Diagnostics
Network diagnostics are crucial, especially if you’re working with Profinet and Modbus setups. Now here’s where it gets interesting—both these protocols have their quirks. In my experience, Profinet issues often stem from IP conflicts or cabling problems. Use network scanning tools to identify conflicts or disconnections. For Modbus, check your RS-485 lines. A loose connection or termination resistor can cause timeouts. I once spent 3 hours debugging a Modbus timeout that turned out to be a loose RS-485 terminal. It happens.
Moreover, VLANs can help segregate and optimize network traffic, reducing the chance of bottlenecks and conflicts. In one scenario, implementing VLANs reduced network latency significantly, improving overall system reliability.
Parameter Monitoring
Monitoring critical parameters keeps you ahead of potential problems. I can’t stress enough how vital this is. For instance, in VFDs, parameters like current, voltage, and thermal overload settings can indicate whether you’re pushing the equipment too hard. Regularly log these parameters using your SCADA or PLC’s monitoring tools. If you see any anomalies, you can address them before they cause downtime. It’s like getting an oil change in your car before it breaks down. Proactive, not reactive.
Additionally, set up alerts for parameter deviations. I once configured a system to send SMS alerts for critical parameter changes, allowing us to act swiftly before a minor issue spiraled into chaos.
Common Mistakes to Avoid
Let’s face it, we’ve all made mistakes on the plant floor. Here are some common ones you should steer clear of:
- Overlooking Basic Checks: Always start with the basics. Check power supplies, connections, and simple settings before diving deeper. I’ve been guilty of spending hours on a complex diagnosis only to find a tripped circuit breaker.
- Ignoring Updates: Skipping software and firmware updates can lead to compatibility issues. However, always test updates in a controlled environment first to avoid introducing new problems.
- Poor Documentation: Not documenting changes, updates, or troubleshooting steps can bite you later. Maintaining detailed logs helps you and others understand what was done and why.
- Neglecting Training: Ensure everyone on your team understands the systems they work with. I’ve seen costly mistakes made because someone wasn’t familiar with the latest system updates.
- Bypassing Safety Protocols: In the rush to solve a problem, it’s tempting to bypass safety interlocks. Don’t. Safety should never be compromised, no matter the urgency.
Real-World Troubleshooting Scenarios
Let’s talk real-world scenarios. Imagine a VFD fault. One time, I had a VFD tripping every time the load increased. After some digging, I realized the acceleration time was too short, causing overcurrent. Adjusting the Pr.7 parameter fixed it. Another time, I faced a PLC communication error during a graveyard shift. The fix was simple: a faulty RJ45 connector. Swapping it out brought the system back to life.
A SCADA system outage taught me to anticipate software glitches. During an update, the system crashed. Fortunately, we had backups and restored operations quickly. From this, I learned to always schedule updates during non-peak hours and keep backups handy. You never want to be caught off-guard.
Furthermore, I recall a situation where a slight temperature variation was causing a sensor drift. It was an eye-opener on how ambient conditions can sneakily affect system performance. Installing temperature compensators solved the issue.
Frequently Asked Questions
What should I check first when a system stops?
Start with power supply checks. Ensure all connections are secure, and the power is flowing as it should. Then, check your communication lines and interfaces. I’ve often found that electrical noise or network issues cause unexpected stops.
How do I know if a problem is electrical or mechanical?
Listen to the system. Mechanical issues often come with sounds—grinding, squeaks, or unusual vibrations. For electrical issues, look for error codes or unusual signal patterns. Your PLC or SCADA should give you clues.
What are the best practices for avoiding future issues?
Regular maintenance and monitoring are key. Keep your software up to date, and don’t ignore parameter warnings. Furthermore, conduct periodic audits of your network and equipment to catch potential faults early.
Can software updates cause new problems?
Yes, they can. Updates might introduce new bugs or compatibility issues. Always test updates in a controlled environment if possible. Having backups ensures you can roll back if things go awry. In my experience, caution pays off.
How do I prioritize multiple faults?
Evaluate the impact of each fault. Address the ones that cause safety issues or production stoppages first. Then, check those that could lead to further damage or downtime. The key is not to panic and tackle issues methodically.
What’s the role of redundancy in troubleshooting?
Redundancy can be a lifesaver. Having backup systems or components can allow operations to continue while you troubleshoot. In one instance, a redundant network switch enabled us to maintain production despite a critical failure on the main switch.
How can environmental conditions affect automation systems?
Environmental conditions like temperature, humidity, and dust can significantly impact performance. Sensors can drift, connections can corrode, and equipment can overheat. Regular environmental assessments and protective measures like enclosures can mitigate these risks.
Key Takeaways
A systematic approach to troubleshooting in industrial automation is indispensable. Keep your tools and software updated, and maintain clear communication with your team. Remember, a calm and methodical approach always trumps hastiness. Stay curious, and never stop learning.
Honestly, I think the best way to get better is by sharing stories and experiences. So, if you’ve got a troubleshooting tale of your own, share it with us at Industrial Gyan. Let’s learn and grow together.

I am an electrical & automation engineer with extensive experience in Design, PLC programming, SCADA development, and IoT integration. I have a strong background in the industry, focusing on the Design & Development of Hardware, Software &Industry 4.0 technologies, and the integration of intelligent manufacturing systems.
I have a deep understanding of electrical principles and am proficient in various programming languages, including Ladder Logic, Structured Text, and Python. In addition, I have experience with various PLC, SCADA & IoT technologies and a track record of successful integration projects for various clients.